

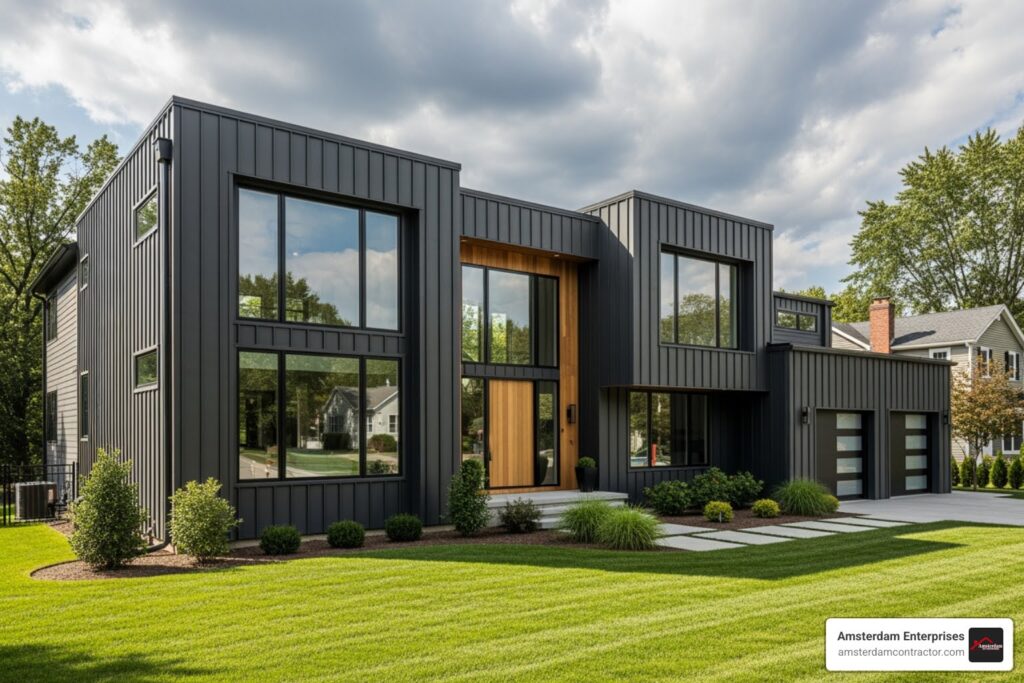
Why Metal Siding Installation is a Smart Investment for Your Home
Metal siding installation is a proven way to protect your home while dramatically improving its curb appeal. This guide walks you through the entire process, from selecting materials to fastening the final panel, whether you’re tackling a DIY project or preparing to hire a contractor.
Quick Overview: Metal Siding Installation in 7 Key Steps
- Choose Your Material – Select steel, aluminum, or other metal types based on your climate and budget ($8-15/sq ft installed)
- Prepare the Surface – Remove old siding, install house wrap, and add furring strips for a level base
- Gather Tools – You’ll need tin snips, a screw gun, measuring tools, and safety gear
- Install Trim First – Set up base trim, corner posts, and J-channel around windows and doors
- Hang Panels – Start with a straight starter strip, then interlock panels from bottom to top
- Fasten Correctly – Drive screws through slotted holes (not too tight) to allow thermal expansion
- Seal and Finish – Apply caulking at joints and install final trim pieces for weather protection
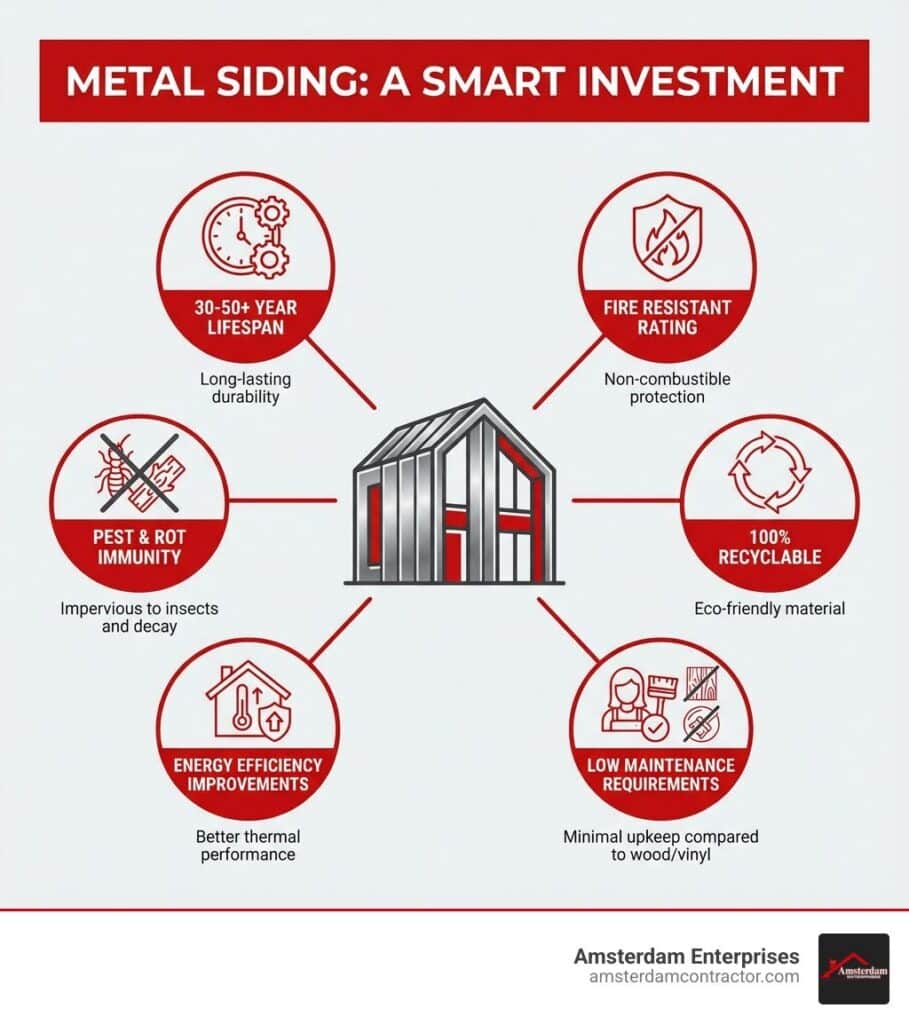
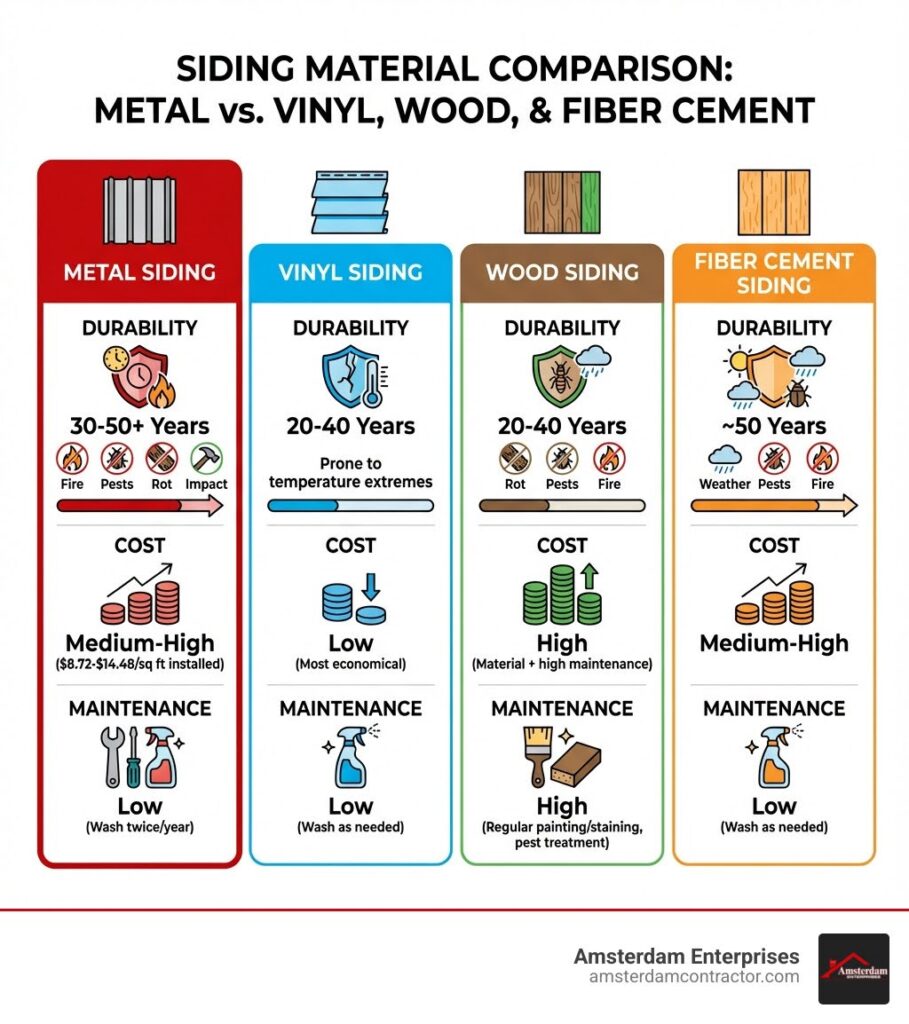
Metal siding delivers exceptional durability—lasting 30 to 50+ years with minimal maintenance. It resists fire, pests, and rot, won’t warp or crack like wood, and is fully recyclable. While the upfront cost runs higher than vinyl (typically $8.72-$14.48 per square foot installed), the longevity and low maintenance make it a smart long-term investment.
The installation requires attention to detail, especially around expansion and contraction, proper fastening, and weatherproofing. Getting these fundamentals right prevents common issues like oil canning, leaks, and premature failure.
I’m Gerard Stencel, and with decades of experience in exterior home improvement, I’ve overseen countless metal siding installation projects that transform homes while providing lasting protection. Our team at Amsterdam Enterprises specializes in delivering the quality craftsmanship and attention to detail that metal siding demands for optimal performance.
Choosing Your Armor: Types, Finishes, and Costs
This section covers the essential planning phase, from selecting the right material to understanding the financial investment. When considering metal siding installation, the first step is always to understand the materials available, how they look, and what they cost.
Types of Metal Siding
Metal siding isn’t a one-size-fits-all solution; it comes in various materials and profiles, each with its own set of advantages and considerations.
- Steel Siding: Steel is a robust, highly durable option known for its strength and impact resistance. It comes in various gauges (lower numbers mean thicker metal), with 29-gauge being common and 26- or 24-gauge offering superior durability. While it resists dents better than aluminum, it is heavier and more challenging to install.
- Aluminum Siding: Lighter than steel, aluminum siding offers excellent corrosion resistance, making it ideal for humid climates. It won’t rust and is easier to handle during installation, though it can be more prone to denting than steel. Note: Aluminum must be separated from certain treated wood preservatives that can cause corrosion.
- Corrugated Panels: This classic wavy profile is a versatile, cost-effective option popular for modern residential and commercial aesthetics. Corrugated panels offer a great strength-to-weight ratio and are easy to install.
- Standing Seam Panels: Offering a sleek, modern look, standing seam features vertical panels with raised, interlocking seams that hide fasteners. This premium option is highly durable and excellent at shedding water, making it a top choice for both roofing and siding.
- Other Profiles: Beyond these, you’ll find profiles mimicking traditional siding styles like Traditional Lap, Dutchlap, and Vertical Board & Batten. These options offer the aesthetic of wood with the superior durability of steel.
For more information on the different options and how we can help you choose the best fit for your home, explore our More info about our Siding Installation services.
Finishes, Colors, and Aesthetics
The finish and color of your metal siding play a huge role in its final appearance and longevity.
- Paint Coatings: Most metal siding has a durable, multilayer paint coating, often backed by a 30-year limited warranty, offering UV resistance and color retention. A wide array of color options allows for extensive customization.
- Galvanized and Galvalume Finishes: These protective metallic coatings prevent rust on steel. Galvanized (zinc) and Galvalume (zinc-aluminum) finishes can be left exposed for an industrial look or serve as a base for paint.
- Texture Choices: Beyond color, some metal siding offers textured finishes that can mimic wood grain or other natural materials, adding depth and character to your home’s exterior.
Impact on Appearance and Cost: Premium finishes, colors, and textures impact appearance and cost, creating a more distinctive look. Custom-length panels can reduce seams and waste for a cleaner finish.
Your Complete Guide to Metal Siding Installation Costs
Understanding the financial aspect is crucial for any home improvement project. Metal siding installation costs can vary widely, but here’s what we know.
- Average Cost Per Square Foot: The estimated cost to install metal siding typically ranges from $8.72 to $14.48 per square foot.
- Material Costs: These depend heavily on the type of metal (steel vs. aluminum), gauge (thicker costs more), profile (standing seam is more expensive), and finish.
- Labor Costs: Labor is a significant portion of the total cost. Factors like job complexity, crew experience, and local wage rates (which you can research via the Occupational Employment and Wage Statistics) all influence this.
Factors Influencing Price:
- Material Type, Gauge, and Finish: Premium materials and finishes increase costs.
- Job Complexity: A home with many windows, gables, or intricate details requires more labor. Two-story homes can cost 15% to 30% more than single-story homes due to scaffolding needs.
- Siding Removal Costs: If existing siding needs to be removed, this adds to the overall expense. It’s often recommended to remove old siding to inspect the underlying sheathing.
- Debris Disposal: After removal, the old siding needs to be disposed of, which is an additional fee.
- Job Supplies and Equipment Allowance: Costs for fasteners, flashing, caulking, and sealants are factored in, as is the use of specialized tools.
- General Contractor Overhead and Markup: A general contractor’s overhead and markup (typically 13% to 22%) will be part of the total cost.
- Unexpected Repairs: If we find damaged sheathing after removing old siding, these repairs will add to the project cost. Be aware that older homes may have materials like asbestos-containing sheathing, which requires special (and more costly) removal procedures.
Gearing Up: Prep Work, Tools, and Safety
This section details the critical preparation steps and the necessary equipment for a successful and safe installation. Proper preparation is the bedrock of a successful metal siding installation. Skipping steps here can lead to frustrating issues down the line, so let’s get it right!
Best Practices for Surface Preparation
The quality of the finished job heavily depends on how well the wall surface is prepared.
- Wall Inspection: Inspect the wall for low spots, rot, or loose boards. These must be corrected to ensure a smooth, even base for the new siding.
- Removing Old Siding: We recommend removing old siding. This allows for inspection of the wall sheathing for damage and ensures a flat surface, which is crucial for preventing the wavy “oil canning” effect.
- Repairing Rot and Damage: Any rot or damage to sheathing or framing must be repaired before proceeding. This is the ideal time to fix underlying structural issues.
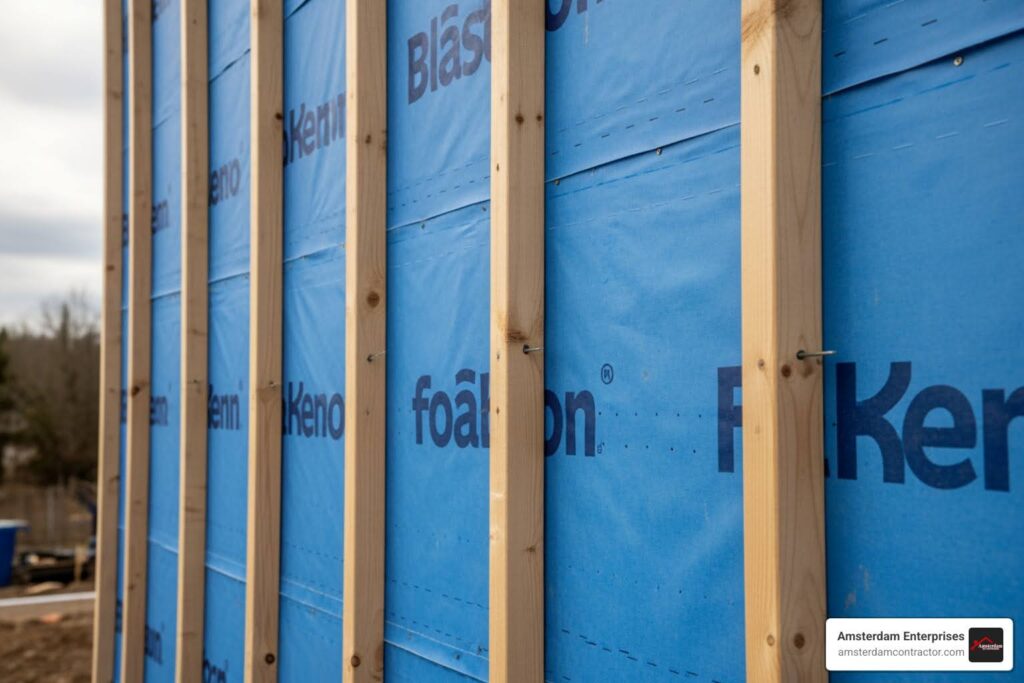
- Installing House Wrap (Water-Resistive Barrier – WRB): A quality house wrap (WRB) is essential. It blocks water while letting moisture vapor escape, preventing mold. We ensure it’s properly installed with all seams taped.
- Furring Strips: On uneven walls, we install furring strips (typically 1″x2″ or 1″x3″ lumber) to create a level base for the siding. This also creates a beneficial air gap that improves insulation.
- Removing Obstructions: Remove obstructions like downspouts, light fixtures, and shutters. Tie back nearby plants to prevent damage.
- Window Sill Modifications: Window sills may need to be trimmed or wrapped with custom coil stock to ensure a clean fit for the J-channel trim.
Tools and Equipment for Professional Metal Siding Installation
Having the right tools makes all the difference in achieving a precise and efficient metal siding installation.
- Measuring Tools: Tape measures, chalk lines, levels (laser levels are helpful), and squares are indispensable for accuracy.
- Cutting Tools:
- Tin Snips/Aviation Shears: Essential for intricate cuts and trimming.
- Nibblers: Electric tools that create clean cuts without distorting the panel.
- Band Saw: A good option for precise cuts through multiple panels.
- Power Saws with Approved Blades: For steel, use specialized metal-cutting blades. Improper saw use can generate heat and filings that may void the paint warranty and cause rust.
- Fastening Tools:
- Screw Gun: Necessary for driving self-tapping screws, preferably with an adjustable torque setting to prevent over-tightening.
- Pneumatic Nailer/Stapler: Can be used for some applications with corrosive-resistant fasteners that penetrate at least 3/4″ into the stud.
- Safety Gear: Safety glasses, leather-palm gloves, and hard hats are non-negotiable. Hearing protection is also important when using power tools.
- Scaffolding and Ladders: For multi-story homes in areas like Arlington Heights or Chicago, proper scaffolding and secure ladders are crucial for safety and efficiency.
Safety First: Essential Precautions
Our priority during any metal siding installation in Glenview, Crystal Lake, or any of our service areas is safety.
Hot Sparks and Shavings: Cutting steel produces hot sparks and metal shavings. Always wear safety glasses and clean the job site daily to remove shavings that can cause rust marks.
Handling Sharp Edges: Always wear leather-palm gloves, as metal panels and trim have sharp edges.
Working at Heights: Secure all ladders and scaffolding, following OSHA Construction Safety and Health Regulations. Safety harnesses may be required.
Electrical Safety: Ensure a clear power outlet is available and take precautions to prevent electrical hazards.
Weather Conditions: Avoid installing siding in wet or windy conditions. Wet panels are slick, and wind makes large panels dangerous to handle.
Proper Lifting Techniques: Use proper lifting techniques to prevent back injuries. Carry siding panels on their side to avoid bending them.